How to make tie-dye shirts: a step-by-step guide
Anúncios
Introduction
Tie-dyeing is more than just a craft; it’s a vibrant art form that has been a symbol of free expression and creativity for decades. From psychedelic patterns sported by hippies in the 1960s to its resurgence in modern fashion, tie-dye continues to captivate enthusiasts across generations. Whether you’re a complete beginner or an avid crafter looking to refine your skills, this guide will walk you through the ins and outs of making your own tie-dye masterpieces.
In this comprehensive guide, we’ll explore the history of tie-dye, delve into the materials you’ll need, and offer a detailed, step-by-step process to prepare your shirts for dyeing. We’ll uncover popular techniques and patterns, provide essential tips for achieving vibrant, long-lasting colors, and help you navigate common pitfalls. Whether you want to personalize your wardrobe or create gifts for friends, by the end of this article, you’ll be well on your way to crafting stunning tie-dye shirts.
Anúncios
What is Tie-Dye and Its History
Tie-dye is an ancient art form that involves a resist dyeing technique, where specific parts of a fabric are bound, pleated, or sewn to create patterns when dye is applied. Its origins can be traced back thousands of years to different parts of the globe, including regions in Asia, Africa, and the Americas. Each culture developed its own method of resist dyeing, utilizing the natural materials available to them.
In Japan, the technique known as Shibori, which dates back to the 8th century, involved folding, twisting, and bunching fabric before dyeing it with indigo. Similarly, West African cultures have long practiced resist dyeing using wax to create bold and graphic patterns on textiles. These traditional practices laid the groundwork for modern tie-dye as we recognize it today.
Anúncios
In the United States, tie-dye became synonymous with the counterculture movement of the 1960s and 70s. Artists like Janis Joplin and Jimi Hendrix popularized the vibrant patterns, which were embraced as symbols of individuality and rebellion. This era brought tie-dye into the mainstream, cementing its place as a staple of casual and festival fashion. The aesthetic of tie-dye has evolved over the years, and it remains a beloved craft, prized for its ability to let individuals express their unique sense of style.
Essential Materials Needed for Tie-Dyeing
Before you embark on your tie-dye journey, having the right materials on hand is crucial to achieving the best results. Here’s what you’ll need to get started:
-
T-shirts: Natural fiber shirts like cotton, rayon, or linen work best as they absorb dye more effectively. Pre-washed, 100% cotton shirts are ideal candidates.
-
Dyes: Fiber-reactive dyes are the most popular choice for tie-dye, as they bond well with natural fibers and result in vibrant, long-lasting colors.
-
Rubber bands: To secure sections of the fabric and create patterns, ensure you have a variety of thick and thin rubber bands.
-
Plastic squeeze bottles: These are used to apply dye more precisely to the fabric. Make sure to have one for each color you’re using.
-
Gloves: Protect your hands from staining with durable, latex, or nitrile gloves.
-
Plastic wrap or bags: Necessary for covering your dyed garments as they set, retaining moisture and aiding the dyeing process.
-
Drop cloths or plastic tarps: To protect work surfaces from stains.
-
Protective clothing: Wear old clothes or an apron to avoid accidental dye stains on your personal clothing.
Once you have gathered all your supplies, set up a workspace that’s spacious, well-ventilated, and protected from spills. Organizing everything before you begin ensures a seamless dyeing experience, reducing mistakes and enhancing creativity.
Step-by-Step Guide to Preparing Your Shirt for Tie-Dye
Preparation is key when it comes to tie-dyeing. Start with a pre-washed white or light-colored shirt to ensure the dye adheres evenly. Follow these steps for optimal results:
-
Wash the Shirt: Before you dye, wash the fabric to remove any sizing or impurities that may prevent the dye from absorbing properly. Do not use fabric softener as it can act as a barrier.
-
Plan Your Design: Decide on a pattern. It can be helpful to sketch your design or refer to examples to visualize the final look.
-
Prepare the Shirt: Depending on the pattern, twist, fold, or bunch the shirt. Use rubber bands to tightly secure the fabric at key points to control where the dye will go.
-
Soak in Soda Ash Solution: For best results, soak your shirt in a soda ash solution (1 cup soda ash per gallon of water) for 20 minutes. This step increases the fiber’s pH, improving the dye’s vibrancy and longevity.
-
Wring Out Excess Water: Carefully wring out the shirt but ensure it remains damp for even dye absorption.
These preparatory steps ensure that your fabric is ready to absorb the colors vibrantly and the pattern comes out as expected. Once prepped, you’re ready to move on to applying the dye.
Popular Tie-Dye Techniques and Patterns
The magic of tie-dye lies in the diverse array of patterns and techniques at your disposal. Here are some popular methods to consider:
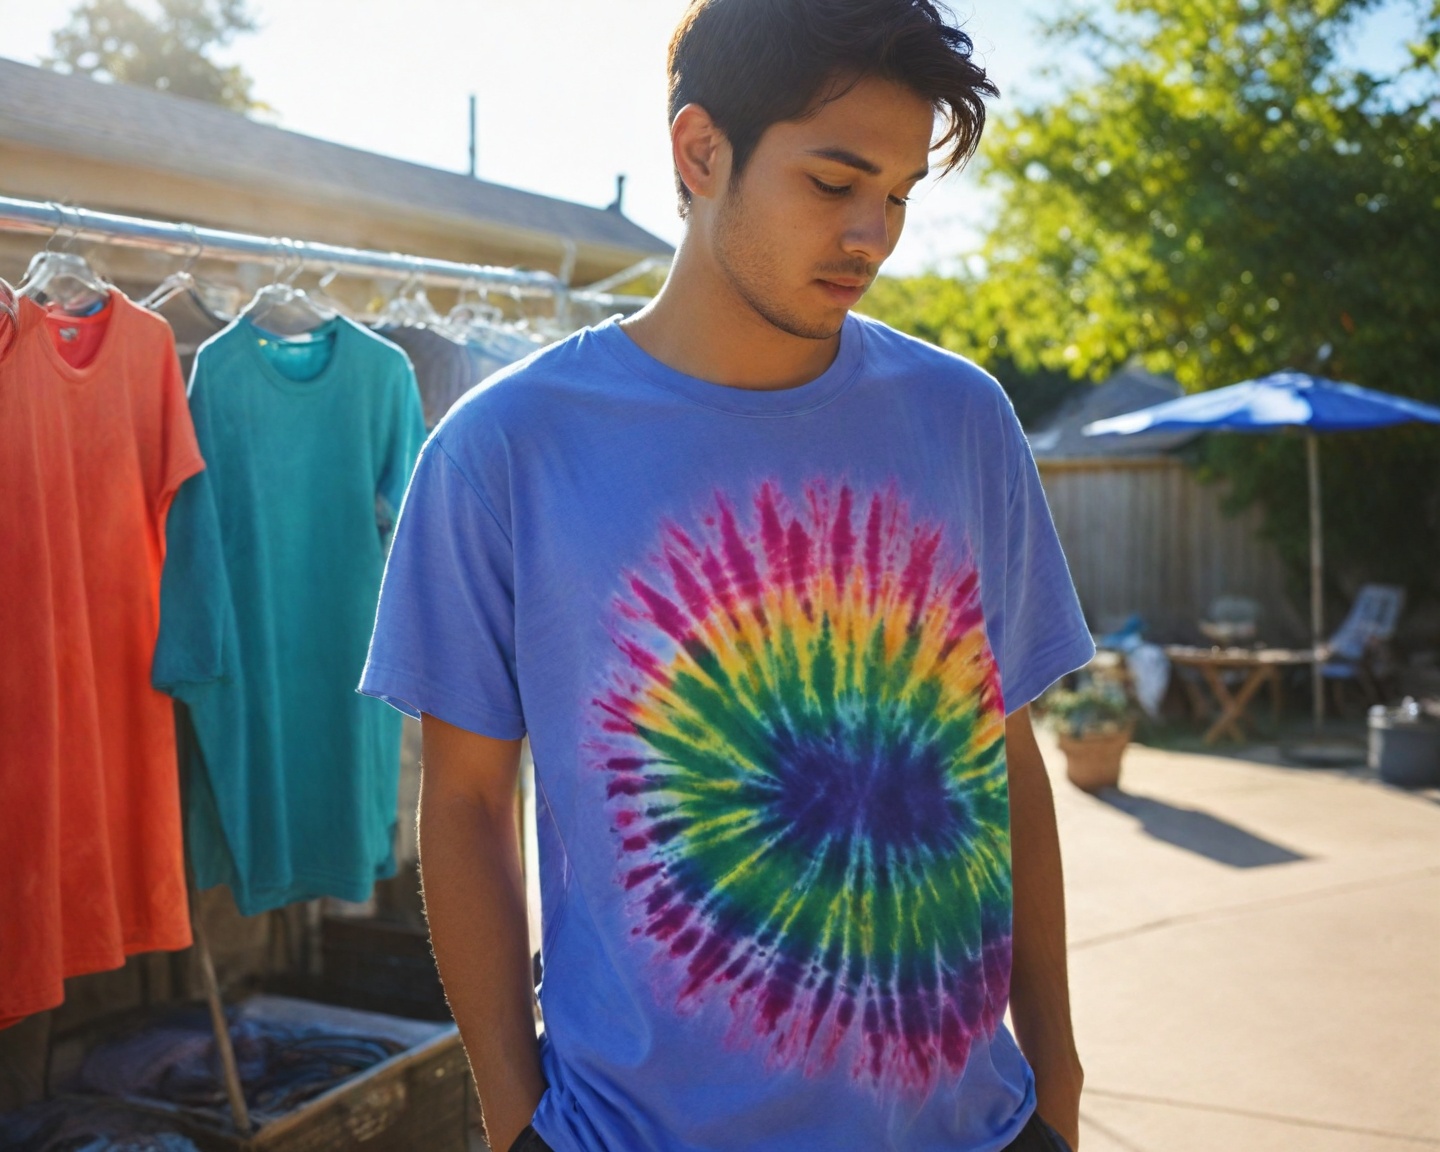
Spiral
To achieve the classic spiral design, lay your shirt flat, pinch the center, and twist it into a spiral shape. Bind the spiral with rubber bands into pie-shaped sections. Apply different dyes to each section for a vibrant effect.
Bullseye
Create a target-like pattern by pinching a section and pulling it up, securing rubber bands at intervals down the length of the fabric. Alternate dye colors between the bands for a bold bullseye effect.
Crumple
For a more random, organic design, scrunch the fabric into a bundle and hold it in place with rubber bands. Apply dye liberally over the crumpled fabric, allowing the colors to blend for a textured look.
Stripes
Accordion fold the fabric lengthwise or widthwise, and secure sections with rubber bands for parallel stripes. Alternate dyes across sections for a linear pattern.
Ice Dyeing
A modern twist on the traditional technique, ice dyeing involves placing ice over a tied shirt and sprinkling dye powder on top. As the ice melts, unique patterns emerge as the dye seeps through the fabric.
Experimenting with these techniques can yield fantastic results and help you discover your own style. Mastering the basic patterns paves the way for creating more complex designs.
Tips for Achieving Vibrant and Long-Lasting Colors
The ultimate goal of tie-dye is to achieve rich, vibrant colors that stand the test of time. Follow these tips to make sure your shirts pop:
-
Use Fiber-Reactive Dyes: These dyes chemically bond with fibers, ensuring maximum color fastness and brilliance.
-
Work with Warm Water: Most fiber-reactive dyes require warmth to activate, so warm water can enhance color uptake.
-
Let it Set: Allow dyed garments to sit for at least 6-24 hours. The longer the dye sets, the more vibrant the color will be.
-
Rinse Properly: Rinse shirts in cold water first to remove the initial excess dye, then switch to warm water. This helps set the remaining dye and prevent bleeding.
-
Wash Separately Initially: Wash newly dyed shirts by themselves for the first few cycles to prevent the dye from bleeding onto other garments.
Following these tips can help you achieve colors that are not just brilliant but also durable, ensuring your tie-dye endeavors stand out.
Common Mistakes to Avoid When Tie-Dyeing
While tie-dyeing is relatively straightforward, there are common pitfalls to be aware of:
-
Skipping the Soda Ash Soak: This step is essential for setting the dye. Skipping it can result in muted colors.
-
Insufficient Tension: If your rubber bands aren’t tight enough, dye may seep into unwanted areas, disrupting the pattern.
-
Using Old Dyes: Dyes expire after a few years, losing potency. Always check the expiration and freshness of your dyes.
-
Dye Waste: Applying too much dye can lead to waste, smudged designs, and excessive bleeding. Use dye conservatively.
-
Wash with Fabric Softener: This can coat fibers, making them resistant to dye. Avoid while pre-washing and after dyeing.
Being aware of these mistakes and taking steps to avoid them ensures a smoother tie-dyeing process and enhances your final result.
How to Care for Your Tie-Dye Shirts
Caring for tie-dye garments is essential to preserve their colorful allure. Here’s how to maintain your shirts:
-
Initial Wash: After setting, rinse well and wash separately with cold water to remove any remaining excess dye.
-
Use Gentle Detergent: Opt for a mild, color-safe detergent when machine washing.
-
Wash in Cold Water: This helps maintain the vibrancy of the dyes. Hot water can cause fading over time.
-
Avoid Bleach and Harsh Chemicals: These can degrade fabric and fade colors.
-
Air Dry or Tumble Dry on Low: High heat can cause dyes to fade. Air drying is gentlest on color and fabric.
By following these care instructions, you can ensure that your tie-dye creations maintain their vivid colors and stand the test of time.
Creative Ideas for Customizing Your Tie-Dye Designs
Once you master the basics, personalizing your tie-dye designs unlocks endless possibilities. Here are some creative ideas:
-
Layering Colors: Applying multiple layers of dye in stages can produce unique, marbled effects.
-
Use Stencils or Stamps: After dyeing, add designs using fabric paints or stamps for additional detail.
-
Fabric Markers: Add intricate patterns or details once the dye has set, offering even more customization options.
-
Ombre Effects: Transition from dark to light within a design by gradually diluting your dye as you apply it.
-
Mix in Natural Elements: Revitalize old shirts by combining them with natural elements such as leaves to create unique imprints.
Personalizing designs to your taste not only enhances creativity but also ensures your shirts reflect your personality and style ethic.
Safety Precautions When Working with Dyes
While tie-dyeing is fun, it’s important to take precautions to ensure your safety:
-
Ventilation: Always work in a well-ventilated area to avoid inhaling dye powders.
-
Protective Gear: Wear gloves and, if necessary, a mask to protect your hands and lungs from dye exposure.
-
Skin Safety: Dyes can irritate sensitive skin, so wash any accidental contact immediately.
-
Keep Supplies Away from Children and Pets: Dyes are chemicals and should be handled only by those who understand their proper use.
-
Proper Disposal: Properly dispose of any dyes and rinse water according to local regulations to reduce environmental impact.
By taking these safety measures, you can enjoy your tie-dye projects to the fullest while minimizing risk.
Where to Buy Tie-Dye Supplies and Kits
Finding the right materials is crucial for success in tie-dye. Here are some places to source your supplies:
| Type of Store | Options |
|---|---|
| Craft Stores | JoAnn Fabrics, Michaels, Hobby Lobby |
| Online Retailers | Amazon, Dharma Trading Co., Tie-Dye Your Summer |
| Specialty Shops | Local artist supply stores or dye-specific suppliers |
Each option offers various advantages, such as accessibility, variety, or specialized items for enthusiasts looking to expand their dyeing repertoire. Whether you choose to shop locally or online, quality supplies are readily available.
FAQ
What type of fabric is best for tie-dyeing?
The best fabrics for tie-dyeing are those made from natural fibers such as cotton, rayon, or linen. These materials absorb dye effectively, ensuring vibrant and even colors.
Can I use tie-dye on synthetic fabrics?
Synthetic fabrics do not absorb dyes as effectively as natural fibers. If you wish to dye synthetic materials, use dyes specifically formulated for synthetics for better results.
How long should I let my tie-dye shirt set?
After applying the dye, allow the garment to set for 6-24 hours. Longer setting times enable the dye to bond better with the fabric, resulting in more vibrant colors.
Do I need to heat-set my tie-dye shirt?
Traditional fiber-reactive dyes do not require heat-setting. Allowing them to set adequately at room temperature will ensure adherence. Heat-setting is mainly used for fabric paints or markers post-dyeing.
How can I prevent my colors from bleeding?
To minimize bleeding, ensure accurate soda ash pre-treatment, avoid excessive dye application, and rinse with cold water initially. Wash separately the first few times to prevent other clothes from dye transfer.
Can I fix mistakes made during dyeing?
Most dye mistakes are irreversible once set. To reduce the likelihood of error, plan your design carefully and apply dye with precision. If needed, bleach and re-dye to cover mistakes.
Is tie-dye environmentally friendly?
Many traditional dyes are chemical-based, but environmentally-friendly options are becoming available. Using plant-based dyes and disposing of waste responsibly can reduce environmental impact.
Recap
This guide provides an in-depth look into the fascinating world of tie-dye, outlining its rich history and essential materials, while guiding readers through the preparation, dyeing, and care processes. The article explores popular patterns and techniques, offers safety suggestions, and suggests places to acquire supplies—all designed to ensure you create vivid, lasting tie-dye pieces. Recognizing common mistakes and understanding how to care for your creations will empower you to explore this creative hobby confidently.
Conclusion
Tie-dyeing offers a unique blend of creativity, history, and personal expression, allowing practitioners to engage with an art form that has been cherished across cultures and generations. With the knowledge outlined in this guide, enthusiasts can approach this craft with an understanding of its nuances and potential, from selecting materials to executing complex designs with precision.
As you embark on or continue your tie-dyeing journey, remember that each piece you create is an extension of your personality—a colorful testament to the possibilities that arise when imagination meets technique. With practice, patience, and a touch of creativity, you can transform ordinary fabrics into expressions of art that are as unique as you are.
References
- “The History and Art of Tie-Dye.” Dharma Trading Co. https://www.dharmatrading.com
- “Tie-Dye Techniques.” JoAnn Fabrics. https://www.joann.com
- “Guide to Tie-Dyeing.” Michaels. https://www.michaels.com
Related posts:
Performance Workshops Based on Myths and Traditional Tales
10 creative hobbies for adults to spark joy and relaxation
How to start stop motion animation: a beginner’s guide
How to Create a Play with Everyday School Themes
How to start lino printing: a beginner’s guide
How to make candles at home: a step-by-step guide

Beatriz Johnson is a seasoned creative enthusiast and writer with a passion for simplifying the intricacies of artistic hobbies and DIY projects. With over a decade of experience exploring various creative fields, she specializes in topics like crafting, painting, and innovative DIY techniques. Through her work, Beatriz inspires readers to unleash their creativity, try new artistic endeavors, and stay inspired in the ever-evolving world of creative hobbies.